江苏省建设工程招标网站收录网站排名
应用场景
存放Token、存放用户信息或字典等需要频繁访问数据库获取但不希望频繁访问增加数据库压力且变化不频繁的数据。
集成步骤
1. 新建 Maven 项目并引入 redis 依赖【部分框架有可能已经集成,会导致依赖文件有差异】
<dependency><groupId>org.springframework.boot</groupId><artifactId>spring-boot-starter-data-redis</artifactId>
</dependency>
2. 配置 application.yml文件
#数据源配置
spring:redis:##redis 单机环境配置# Redis服务器地址host: 127.0.0.1# Redis服务器连接端口port: 6379password:# Redis数据库索引(默认为0)database: 0ssl: falsedatasource:url: jdbc:mysql://*.***.**.**:3516/smart_order?useSSL=false&useUnicode=true&characterEncoding=utf-8&zeroDateTimeBehavior=convertToNull&transformedBitIsBoolean=true&serverTimezone=GMT%2B8&nullCatalogMeansCurrent=true&allowPublicKeyRetrieval=trueusername: rootpassword: ******
3. 编写缓存服务和Controller
spring-boot 自动配置了 RedisConnectionFactory, StringRedisTemplate 和 RedisTemplate Bean。
默认,连接的 redis 服务端为 localhost:6379
CacheService 接口
/*** 缓存服务* @param <K>  缓存的 key* @param <V>  缓存的内容*/
public interface CacheService<K,V> {Boolean cache(K key, V value);Boolean remove(K key);V get(K key);}
RedisCacheService
import org.springframework.beans.factory.annotation.Autowired;
import org.springframework.beans.factory.annotation.Qualifier;
import org.springframework.data.redis.connection.RedisConnectionFactory;
import org.springframework.data.redis.core.RedisTemplate;
import org.springframework.data.redis.core.StringRedisTemplate;
import org.springframework.stereotype.Service;/*** 基于 Redis 实现的的缓存服务*/
@Service("redisCacheService")
public class RedisCacheService implements CacheService<String, Object>{//  spring-boot 自动配置了 RedisConnectionFactory, StringRedisTemplate 和 RedisTemplate Bean。@Autowiredprivate RedisConnectionFactory connectionFactory;@Autowiredprivate StringRedisTemplate template;@Autowired@Qualifier("redisTemplate")private RedisTemplate redisTemplate;@Overridepublic Boolean cache(String key, Object value) {template.opsForValue().set(key,String.valueOf(value));return Boolean.TRUE;}@Overridepublic Boolean remove(String key) {return template.delete(key);}@Overridepublic Object get(String key) {return template.opsForValue().get(key);}
}
CacheController
import org.springframework.beans.factory.annotation.Autowired;
import org.springframework.beans.factory.annotation.Qualifier;
import org.springframework.web.bind.annotation.GetMapping;
import org.springframework.web.bind.annotation.RequestMapping;
import org.springframework.web.bind.annotation.RequestParam;
import org.springframework.web.bind.annotation.RestController;/*** CacheController 用于提供 接口进行缓存操作*/
@RestController
@RequestMapping("/cache")
public class CacheController {@Autowired@Qualifier("redisCacheService")private CacheService cacheService;/*** 缓存* @param key* @param value* @return*/@GetMapping("/save")public Boolean cache(@RequestParam("key") String key, @RequestParam("value")String value){return cacheService.cache(key,value);}/*** 查询* @param key 缓存key* @return*/@GetMapping("/get")public Object get(@RequestParam("key") String key){return cacheService.get(key);}/*** 删除缓存* @param key 缓存key* @return*/@GetMapping("/remove")public Boolean remove(@RequestParam("key") String key){return cacheService.remove(key);}
}
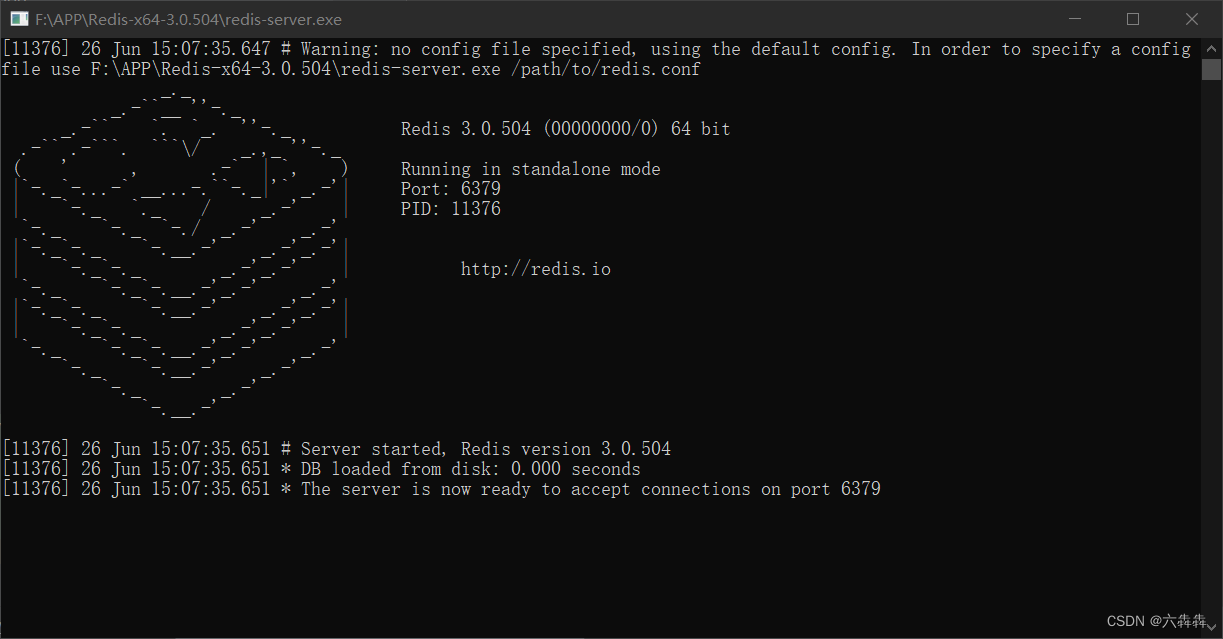
4. 下载redis并打开
- Redis3.0下载地址https://redis.io/download/
- 解压后,打开其中的redis-server.exe即可。
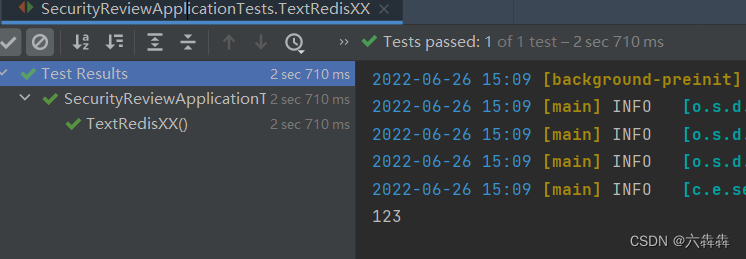
5. 启动项目并测试
在SpirngBoot测试类中,先用@Autowired引入RedisCache。通过调用该对象的方法来操作redis数据库。
@Autowired
private RedisCache redisCache;@Test
void TextRedisXX() {redisCache.setCacheObject("hhh", "123");String str = redisCache.getCacheObject("hhh");System.out.println(str);
}
亦或是容器初始化时获取
StringRedisTemplate redisTemplate = SpringUtil.getBean(StringRedisTemplate.class);
结果如下图:
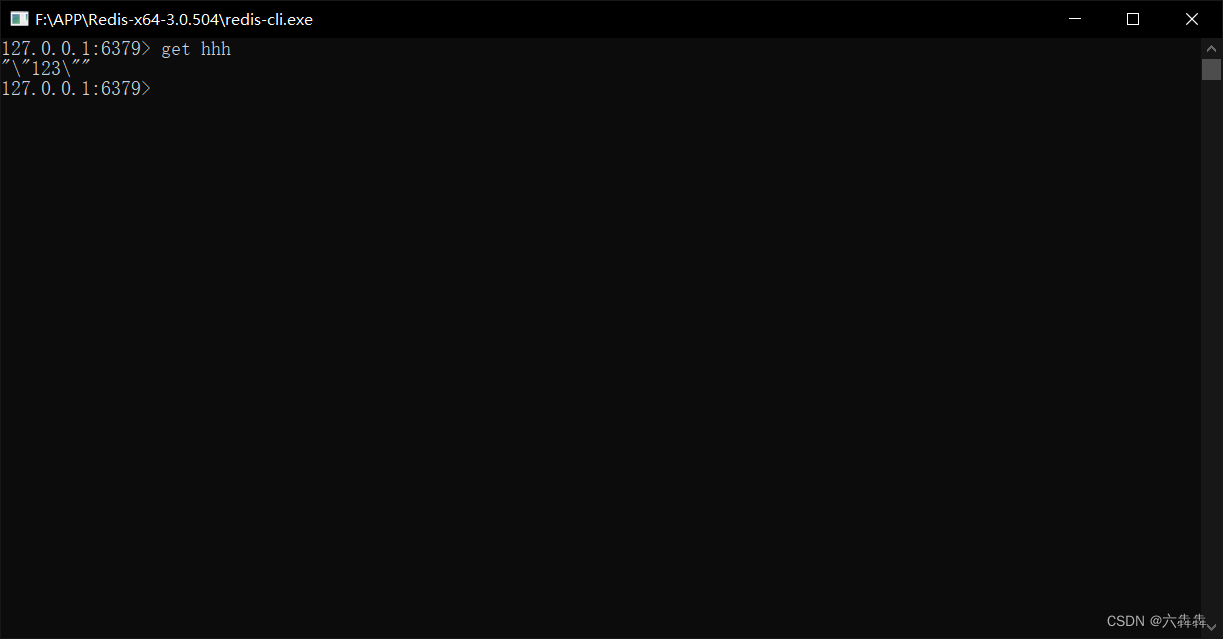
除了在IDEA中通过调用 redisCache.getCacheObject(“hhh”);方法来获取之外,还可以打开解压文件中的redis-cli.exe,输入 get hhh 来获 取值。